Using an iPhone 12 Pro Max as an Overhead Camera for Live Streams
I’ve been putting a lot more effort into my live streams lately. Thanks to better tools like eCamm Live and my Stream Deck, I can manage things a bit better and it doesn’t feel like a completely overwhelming process. One of the problems I was trying to solve was having a good overhead camera so I can do unboxings, writing, sketching, etc. Here’s how I set it up.
Last week, I posted a photo on Instagram that was honestly for a contest. I did not think it would garner so many questions (comments and DMs), but I’m glad it did because now I get to write this post! Here’s the breakdown.
Camera: iPhone 12 Pro Max
Starting with the obvious, the device I’m using for my camera is the iPhone 12 Pro Max. Recent iPhones can pump out 4K video so it looks super good. Using it as either an overhead camera or a secondary camera works super well.
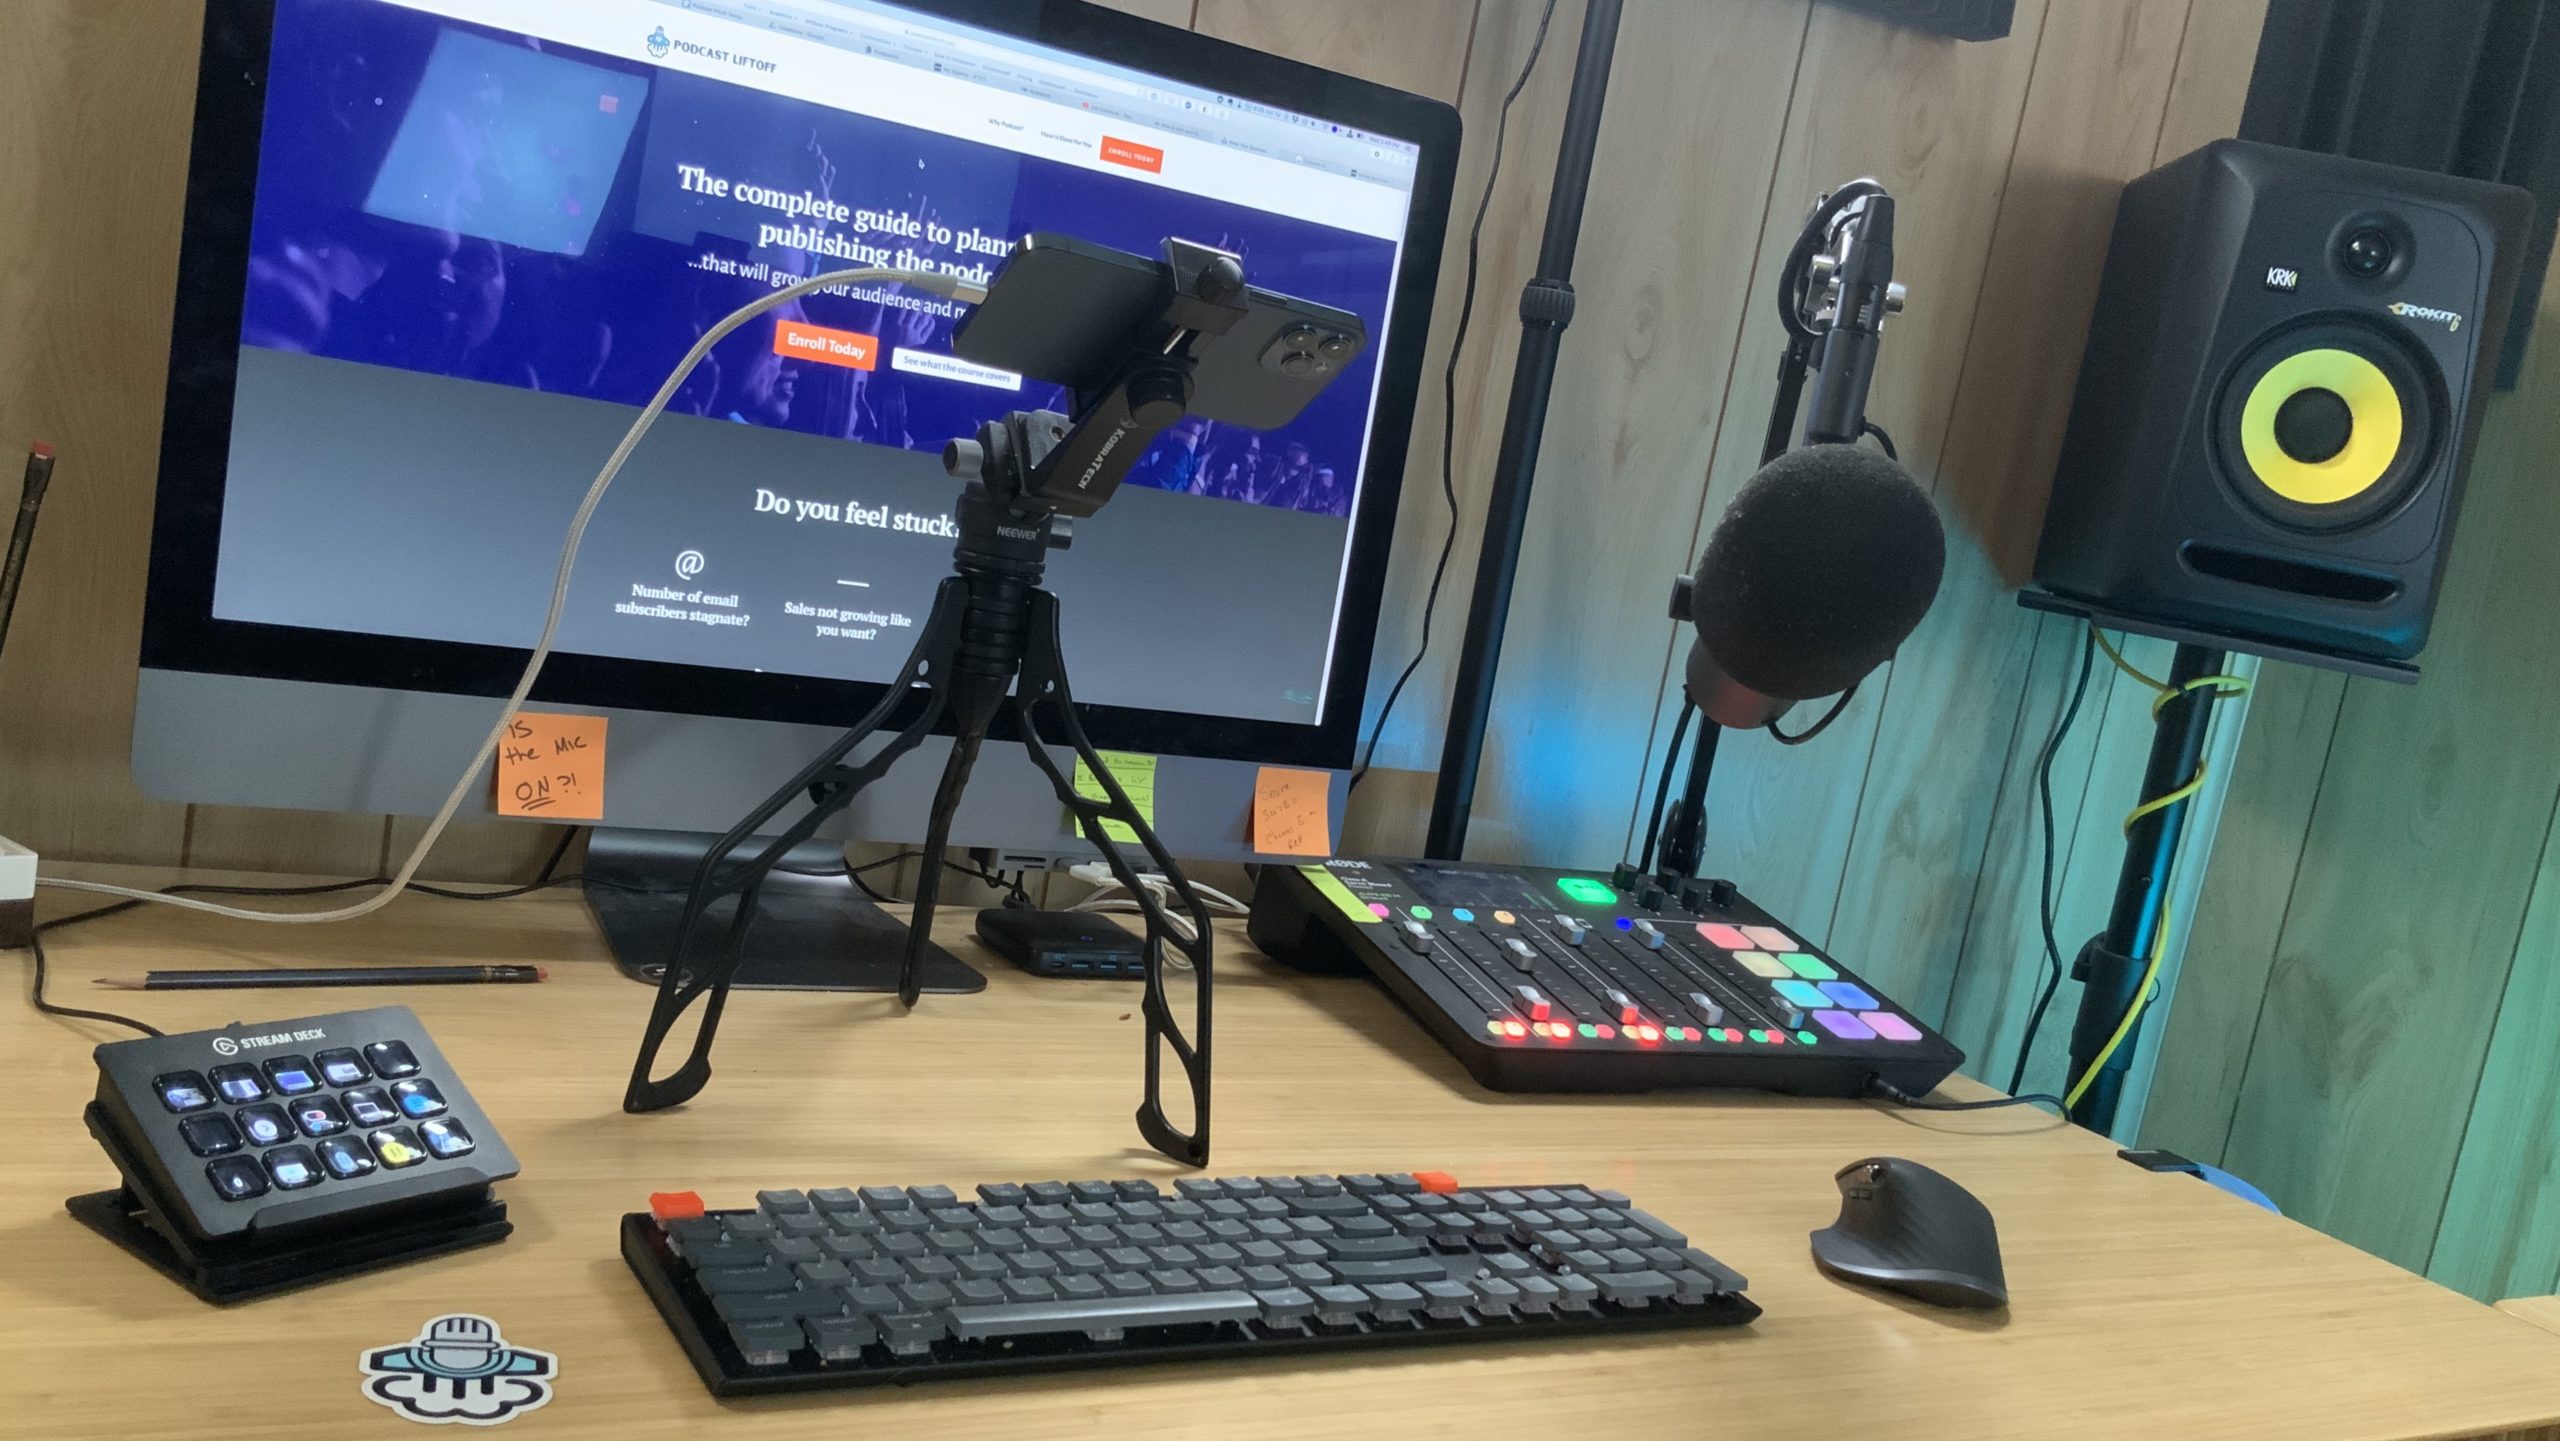
The way it’s arranged in the post, the iPhone is mounted on a SwitchPod (more on that below) and plugged into my computer using a 10-foot USB-A to Lightning cable (this one, from Anker). That length gives me some flexibility to position the camera as needed, depending on the stream or video.
The SwitchPod
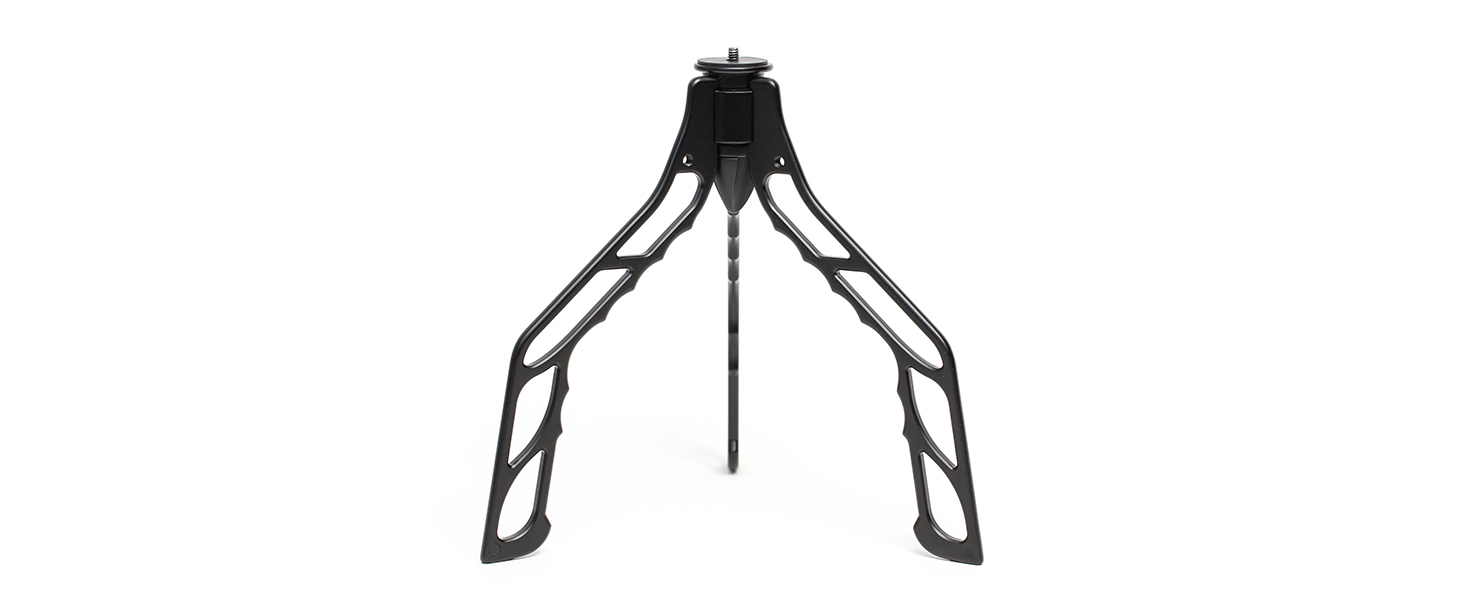
The tripod I’m using is the fantastically compact and lightweight SwitchPod. There’s a Neewer ball head on it, and a generic phone clamp. I will be replacing both with the SwitchPod branded items soon.
My initial plan was to use my very tall Manfrotto tripod, but it was in the way of everything and I couldn’t get a good angle. I could use yet another boom arm, but I already have 4 attachments on my desk.
The SwitchPod is lightweight, simple, moveable, and does the job well for times when I want to use an overhead cam. SwitchPod continues to show its versatility and I’m super happy with the purchase.
Software
As for software, there are two key components I use to get everything working properly: the first one I mentioned earlier.

eCamm Live for Live Streaming
For a while, I was using OBS for my live streams, and it worked well enough. But like any open source software, it felt like my whole operation was held together by toothpicks and bubble gum – especially on a Mac. I understand OBS works better on Windows.
eCamm Live is an absolute lifesaver for me. It does everything I need it to do, and with their new interviews mode, I can even bring in other people easily. But the feature that enables me to use my iPhone as a secondary camera is the native support for iOS as input devices. I plug my iPhone in and I’m ready to go.
This allows for some nice screen sharing for when I want to demo an app, draw something on screen, and add some extra dimensions to the stream. But when I use a camera app, I can also take advantage of “sharing” what the camera sees.
The only problem is the camera chrome that you see – and there’s another app that helps with that.
Shoot App for Sharing Camera
Now this was actually the most painful part. There are seemingly lots of solutions for using your iPhone as a webcam with clean camera output – something I desperately wish Apple would support natively.
But most apps have some quirk. Camo is great but requires a macOS and iOS app. I was using FiLMiC Pro but that doesn’t change then feed orientation from portrait to landscape – something that’s probably equal parts eCamm Live and FiLMiC Pro.
Then, through eCamm’s YouTube channel, I found Shoot. This app is perfect and affordable! Open it and the app forces landscape, removes everything else from the screen, and pushes 4K. So far, it’s worked really well.
Managing Everything
So now I have the hardware and software setup – the last question I got on that post was about my Stream Deck configuration. The Stream Deck is how I manage everything – going live, lighting, scene switching, and more.
Luckily, I already have a post on that here.
So what do you think? Have any questions? Let me know in the comments!