
Everything I Use to Put Together a Conference Talk
I’ve been doing a lot of talk prep lately — more than usual, which is super exciting. My process is generally the same each time, so I thought I’d share what I do and the tools I use.
Coming Up with Talk Ideas
The first step in the process is coming up with ideas. This process will look different for everyone, but for me it’s basically the relentless logging of ideas. I write every idea I have down, either in a notebook or in my favorite note taking app, Craft.
I even use back tap on my iPhone to open a new note, and the Drafts shortcut on my watch. When an idea strikes, I capture it.
Figuring out Good Talk Topics
From that relentless logging, I look at what could be a good talk. Good talks communicate an idea or offer some tangible advice. You want to give your audience good takeaways that they can apply today without overwhelming them.
So I’ll look at the things I’ve been doing a lot, or thinking about, and come up with a thesis statement. One recent talk I just finished goes over 5 things theme developers should think about for Full Site Editing. Quick, tangible advice that the audience can take away from the talk without feeling overwhelmed.
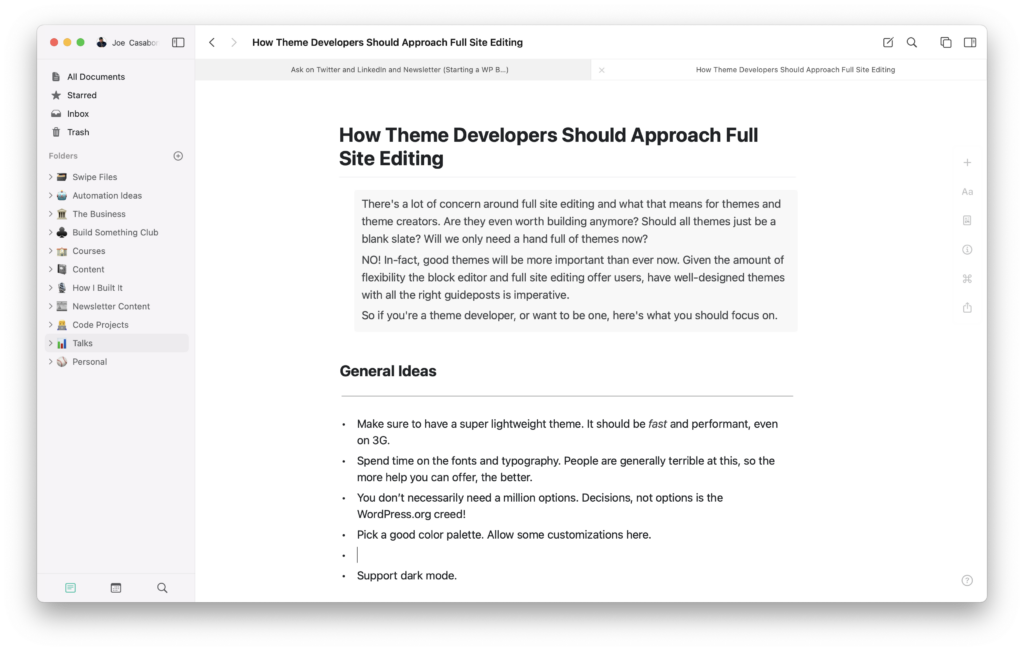
I’ll flesh these ideas out in Craft and create an outline.
Outlining the Talk
No matter what app I’m using, an outline is crucial to developing a good talk. I don’t script my talks so I want to capture the big ideas.
This always starts with a story — something I learned from my friend Chris Lema. I story hooks your listeners right from the very beginning. The thesis statement helps me determine what kind of story I want to tell.
For example, with the theme talk about, I told the story of how Walt Disney’s cartoon character, Oswald, was stolen from him and how that lead the way to the creation of Mickey Mouse1.
After the story, I list the big points, generally adding the text that would go on the slides.
Storyboarding the Slides
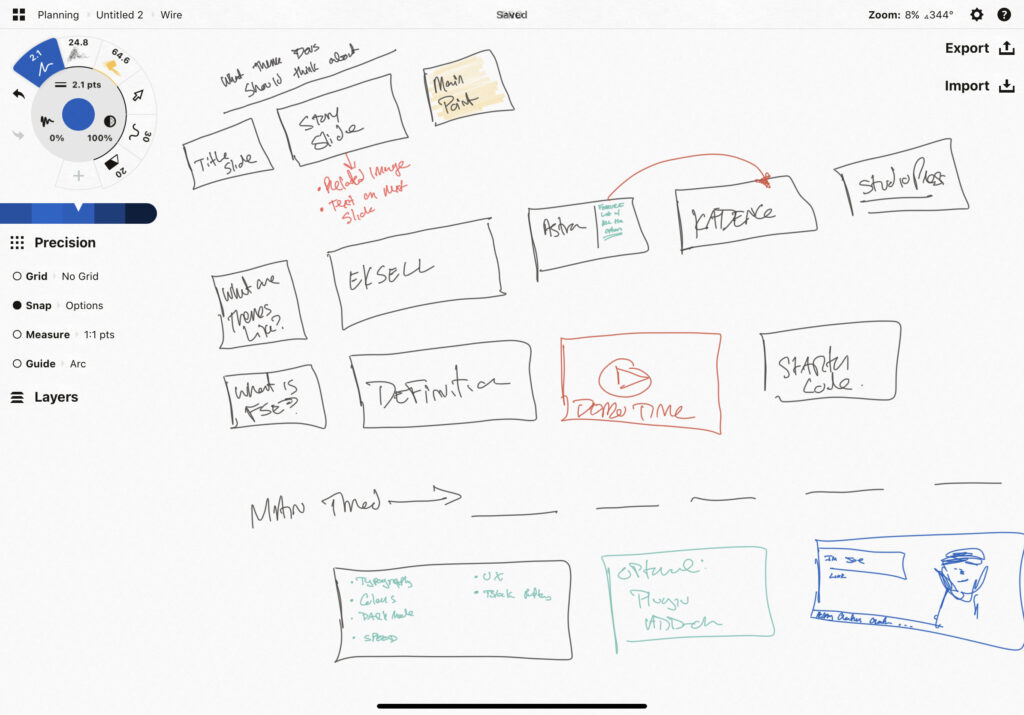
In a recent live stream, I decided to try something now – it’s a minor experiment in storyboarding before actually creating the slides. I’m using Concepts for this task.
Storyboarding allows me to get an overview of the entire talk before I start creating the slides. I can make sure everything flows, that I’m capturing the right points, and that I’m not missing anything. This is especially helpful in lieu of a script.
Creating the Slides
There are a lot of tools to make slides. Some are fancy, some are web-based, some even create slides from markdown. I use Keynote to make my slides. It’s easy to use, clean, and works on all of my devices. I want people to remember what I say, not how fancy my slides were.
I generally use the same theme/template for several talks in a row, as evidenced by my Speaker Deck profile. I’m pretty excited about the newest template because I think it looks better than anything I’ve ever done, thanks in-part to Design Pickle.
Giving the Talk
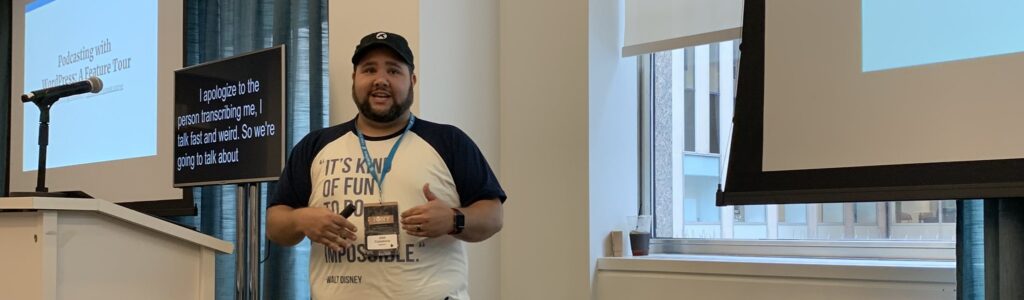
After creating the slides, I’ll rehearse, make notes, adjust, and do it 1-2 more times to make sure I deliver it the way I want.
Now, for in-person events, that’s basically the end of the story. I go to a conference, give the talk, direct people to a resource page2, and pat myself on the back for a job well done3.
But for virtual talks, I have my recording / live process. The tools I use for this are mostly the same, so I’ll list them here:
- eCamm Live for the Recording (plus Recut for pre-recorded talks)
- My Stream Deck to switch between difference scenes – mostly my camera and my screen.
- My shotgun mic. I use this instead of my podcast mic so it’s not in my face and I can gesture the way I usually do when I give a talk.
- Pliim Pro to hide everything on my computer besides Keynote, and Chrome if needed.
Giving a Pre-recorded Talk
For pre-recorded talks, I set up my computer to make it easy to switch windows, hit eCamm Live, and record the talk. I use eCamm because it makes for little to no editing, especially with Recut.
I will usually record demos separately and edit them in later, so it’s me switching between 3 views:
- Just my camera
- Just my screen (usually slides with the mouse hidden)
- My screen with my face in the corner.
Mixing this up makes for a more dynamic talk so viewers aren’t just staring at slides the whole time.
After the recording, I’ll throw the video in Recut to remove long pauses, which usually happen when switching apps, and edit anything I need to in Screenflow.
Giving Live Talks
The process for live talks is pretty similar but not as polished. I’ll use eCamm Live’s virtual camera so that I still have the camera switching abilities, and I will use Pliim Pro to turn everything off — especially notifications, which can’t be edited out in a live talk.
I’ll also turn off anything that kills bandwidth — usually this is Dropbox and Backblaze — as well as any apps I’m not using, and apps that might accidentally expose personal info4.
Ending with a Call to Action
At the end of each talk I have a call to action that generally directs viewers to a specific page for the talk. It will have the slides, any resources I mention, and a special offer. For this, I have templates in Beaver Builder and Gutenberg. These pages are always always hosted on this site. Here’s the page for my FSE talk.
Wrapping Up
So that’s everything! Capture and outline in Craft, storyboard in Concepts, Slides in Keynote, then giving the talk mostly in eCamm Live.
Are there any aspects of my process you’d like to learn more about? Let me know in the comments!
