
Migrating WordPress Multisite from Media Temple to SiteGround
A few years ago, I wrote about domain mapping using WordPress Multisite on Media Temple. This year, I’ve been consolidating all of my hosted websites to a single SiteGround account and the very Multisite instance I wrote about needed to be moved over. I had been avoiding it but the time had come, especially since I was getting knocked for $50/month just for those sites. Here’s how I did it.
This was a process I was dreading for several reasons. First of all, Multisite isn’t your normal, run-of-the-mill WordPress install. There are often complexities that cause issues you don’t usually see in a single WordPress install.
The other reason is that I’m not just pointing one domain. I’m pointing 10 domains that seem to rely on one domain, and I’ve never done that before. I wasn’t sure how the system would function if the main domain wasn’t the first to propagate, and this seemed like an all or nothing deal. So how did I do it?
Getting the Data from Media Temple
First, a note. This process worked for me, on these specific hosts, using this domain mapping tool. I suspect that the general rules apply in most places, but I can’t guarantee results. So if you decide to do this, take care. There be dragons ahead.
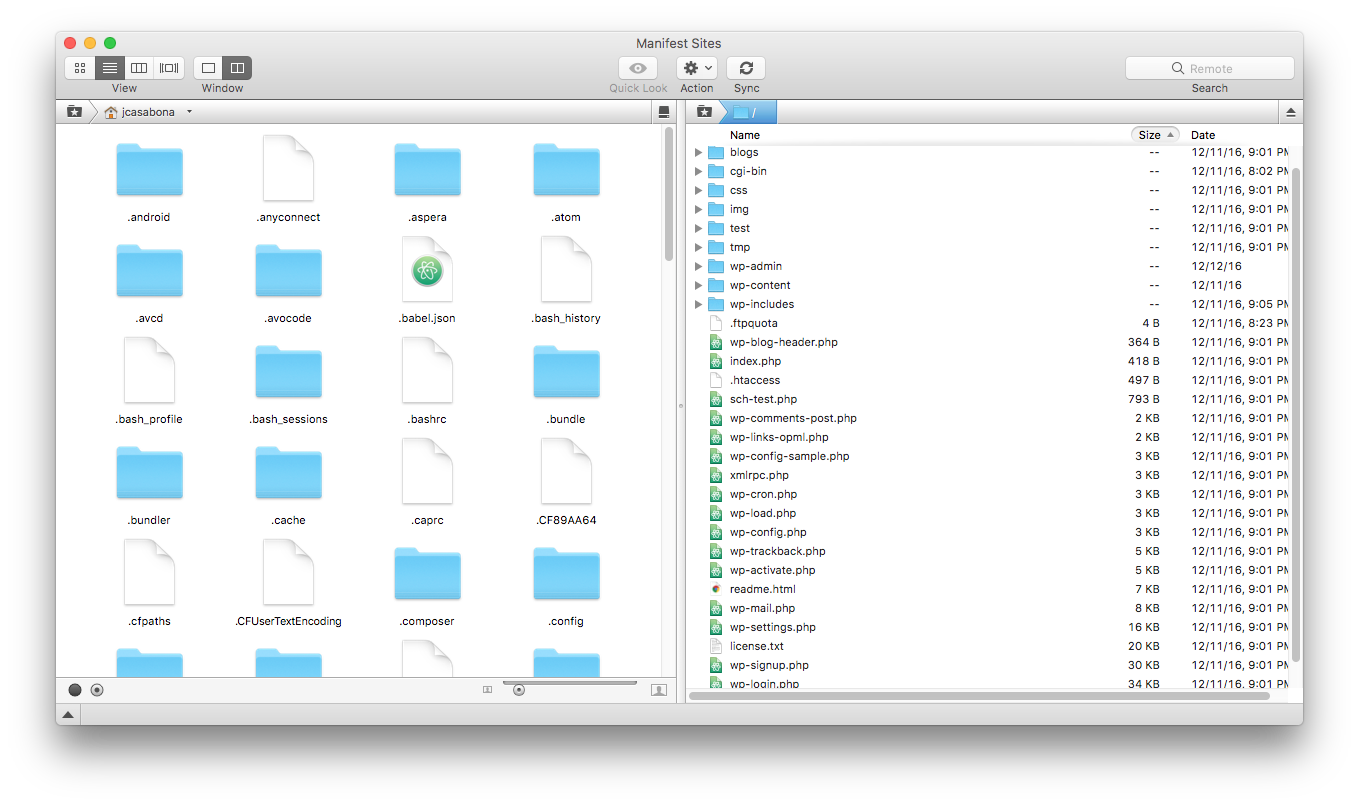
First thing’s first: back everything up. Luckily you’ll probably do this anyway to actually move the files, but download all of the site files and the database. I used SFTP and PHPMyAdmin respectively, but feel free to use what you’d like.
Setting Up Data on SiteGround
Over on SiteGround, go through the normal steps of setting up a new website, with one important note. After clicking on “Addon Domain” from SiteGround’s cPanel and adding the new main domain for the multisite install, joesmultisite.com, we’re told the directory for the new domain:
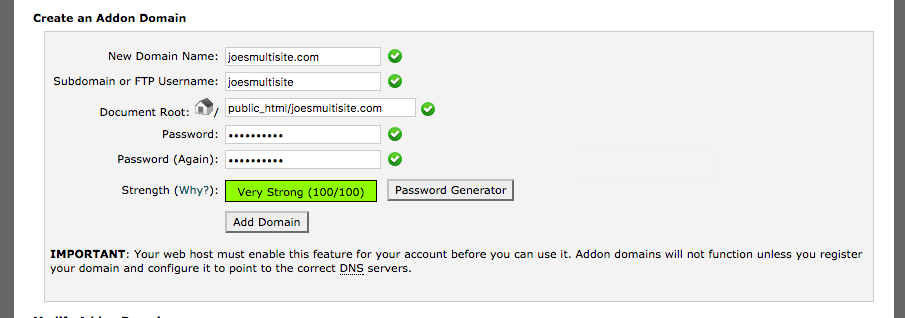
Make note of this directory: /public_html/joesmultisite.com. We’ll need this later when we’re pointing the other domains.
Create the Database
Once you have the main URL added, it’s time to create a new MySQL Database on SiteGround. You can find a tutorial on that here. Make note of the database name, username, and password.
Once you create the new database, you can upload the export from Media Temple. I did this by using PHPMyAdmin, which you can access from cPanel. If you’re feeling adventurous you could also use SSH.
Change the IP Address for the Domain Mapping Plugin
One step I nearly forgot, but an important one nonetheless, is changing the IP Address for your server in the Domain Mapping plugin. I’d recommend doing this before changing the DNS, since it’s an integral part of the plugin.
You can do this 1 of 2 ways: before the import to SiteGround, by doing a Find/Replace in the .sql file. You could also do it after, once you’re all imported and can do a search in PHPMyAdmin. Either way will work fine. Just remember to make the change!
Tip: You can find your SiteGround IP Address in the left sidebar on the main cPanel page, under “Account Information.”
Update wp-config.php
Replace the Media Temple database info in wp-config.php with the new database information from the last step and save the file.
Upload the files
Now it’s time to upload all of the files to the new directory we created. You can do this however you’d like. As I mentioned before, I used SFTP.
This could take a while, so feel free to do the next step while the files are uploading.
Add all the Multisite Domains to SiteGround
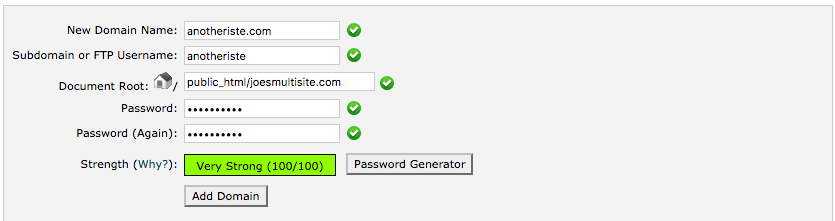
One by one, it’s time to add each domain as an Addon Domain in SiteGround’s cPanel. Do that just as we did above, with one incredibly important difference. Make sure the directory matches the directory of your main domain. In this case, it would be public_html/joesmultisite.com. The way the domain mapping plugin works, it routes all domains through the main one, so every top-level domain in the Multisite Install needs to be pointing to a single directory.
One note on SSL
I (sadly) did not have SSL installed on Media Temple, so I did not need to move over any certificates. Media Temple does have a tutorial on how to do this.
Instead, I installed a Let’s Encrypt cert on the main domain in SiteGround, which seems to be working for all other domains as well.
Change the DNS
Do this once all of the files are uploaded!
Once all the files are uploaded, it’s time to change the DNS for each domain. You can find your name servers in the left sidebar on the main cPanel page, under “Account Information.” I changed the main domain first, but it turns out I didn’t need to. Once everything is operational, the order in which the domains propagate don’t matter. One note:
I wasn’t hosting any email over at Media Temple, so the move was easier for me. If you are hosting email (or anything else that relies on records in the DNS, make sure to update the DNS accordingly. This could be changing the IP address for your A record or making sure your MX records are in order.
Checking Propagation
Now is the fun part: waiting. You could wait up to 48 hours for a domain name to propagate, so don’t delete your old server/files just yet. I like to use What’s My DNS to make sure my sites are moving over.
 It allows you to put in a domain as well as the expected IP Address, so you can easily scan to make sure your domain is pointing to the right server. Once I have all green check marks, I know a domain made it over completely.
You will have to check each domain to make sure they all come over properly.
TEST
Once the domains are over, you need to test them. Make sure there are no broken sites or images, and everything looks good. Make sure you can login to wp-admin and manage all the sites. Once you confirm that, you can delete your old server and files.
Conclusion
That’s it! To be honest, it went a lot smoother than I thought it would. The important bit is knowing what tools you’re using (like the Domain Mapping plugin) and how it works.
Have any thoughts, concerns, or words of wisdom? Leave them in the comments!